Come learn the art of 3D computer generated art and animation. This blog deals with the lessons learned and the art created by Robert G. Male using DazStudio from Daz3D.
Also covered are the ancillary software, tools, techniques, and processes needed both before and after rendering in the 3D software.
R.M.T.P. Co. is a
company dedicated to quality
Web products without all of
the unnecessary hype. Our
products speak for themselves. Down to earth, easy,
usable, these are the principles
we believe in.
It's been a good run so I am confident in ending my posting here for the year. I want to thank everyone for stopping by, even if this is the first time you are doing so. I want to thank the people that came here from social media and for promoting this blog. I hope everyone has a Merry Christmas, Happy Hanukkah, Happy Kwanzaa, a great Yule, or just generally a great December. When that's done have a Happy New Years and I'll see you in 2015.
Hello. It has been a while. I took more of a hiatus than I planned. I hope everyone had a great Hallowe'en without me. I was so busy that I didn't get back to finishing even one piece of Hallowe'en art, and I apologise for that. Now that I'm back I'm easing into it. I have a tonne of new DazStudio items that I bought. The sales have been devastating to my credit. They're still belting out Platinum Club items and I am staunchly wishlisting them and trying to buy as few as I can manage. This year has been off the hook for sales. That said, enjoy the rest of your evening, and I will see you for the next scheduled post.
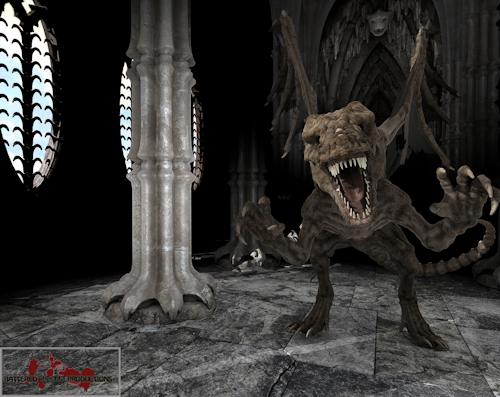
This scene takes a while to render the castle (chapel to be specific to the original intent). I did a lot of postproduction work to put the sky in rather than do one more overnight render. The light inside may be more of a matter of verisimilitude--looking good in a semblance of reality--than actual realism. I'm sure it will be obvious to some where it is incorrect.


![[Valid RSS]](valid-rss.png "Validate my RSS feed")
